WidgetKit 开发实战 1- 初识 iOS 小部件
文章目录
【注意】最后更新于 June 25, 2020,文中内容可能已过时,请谨慎使用。
前言
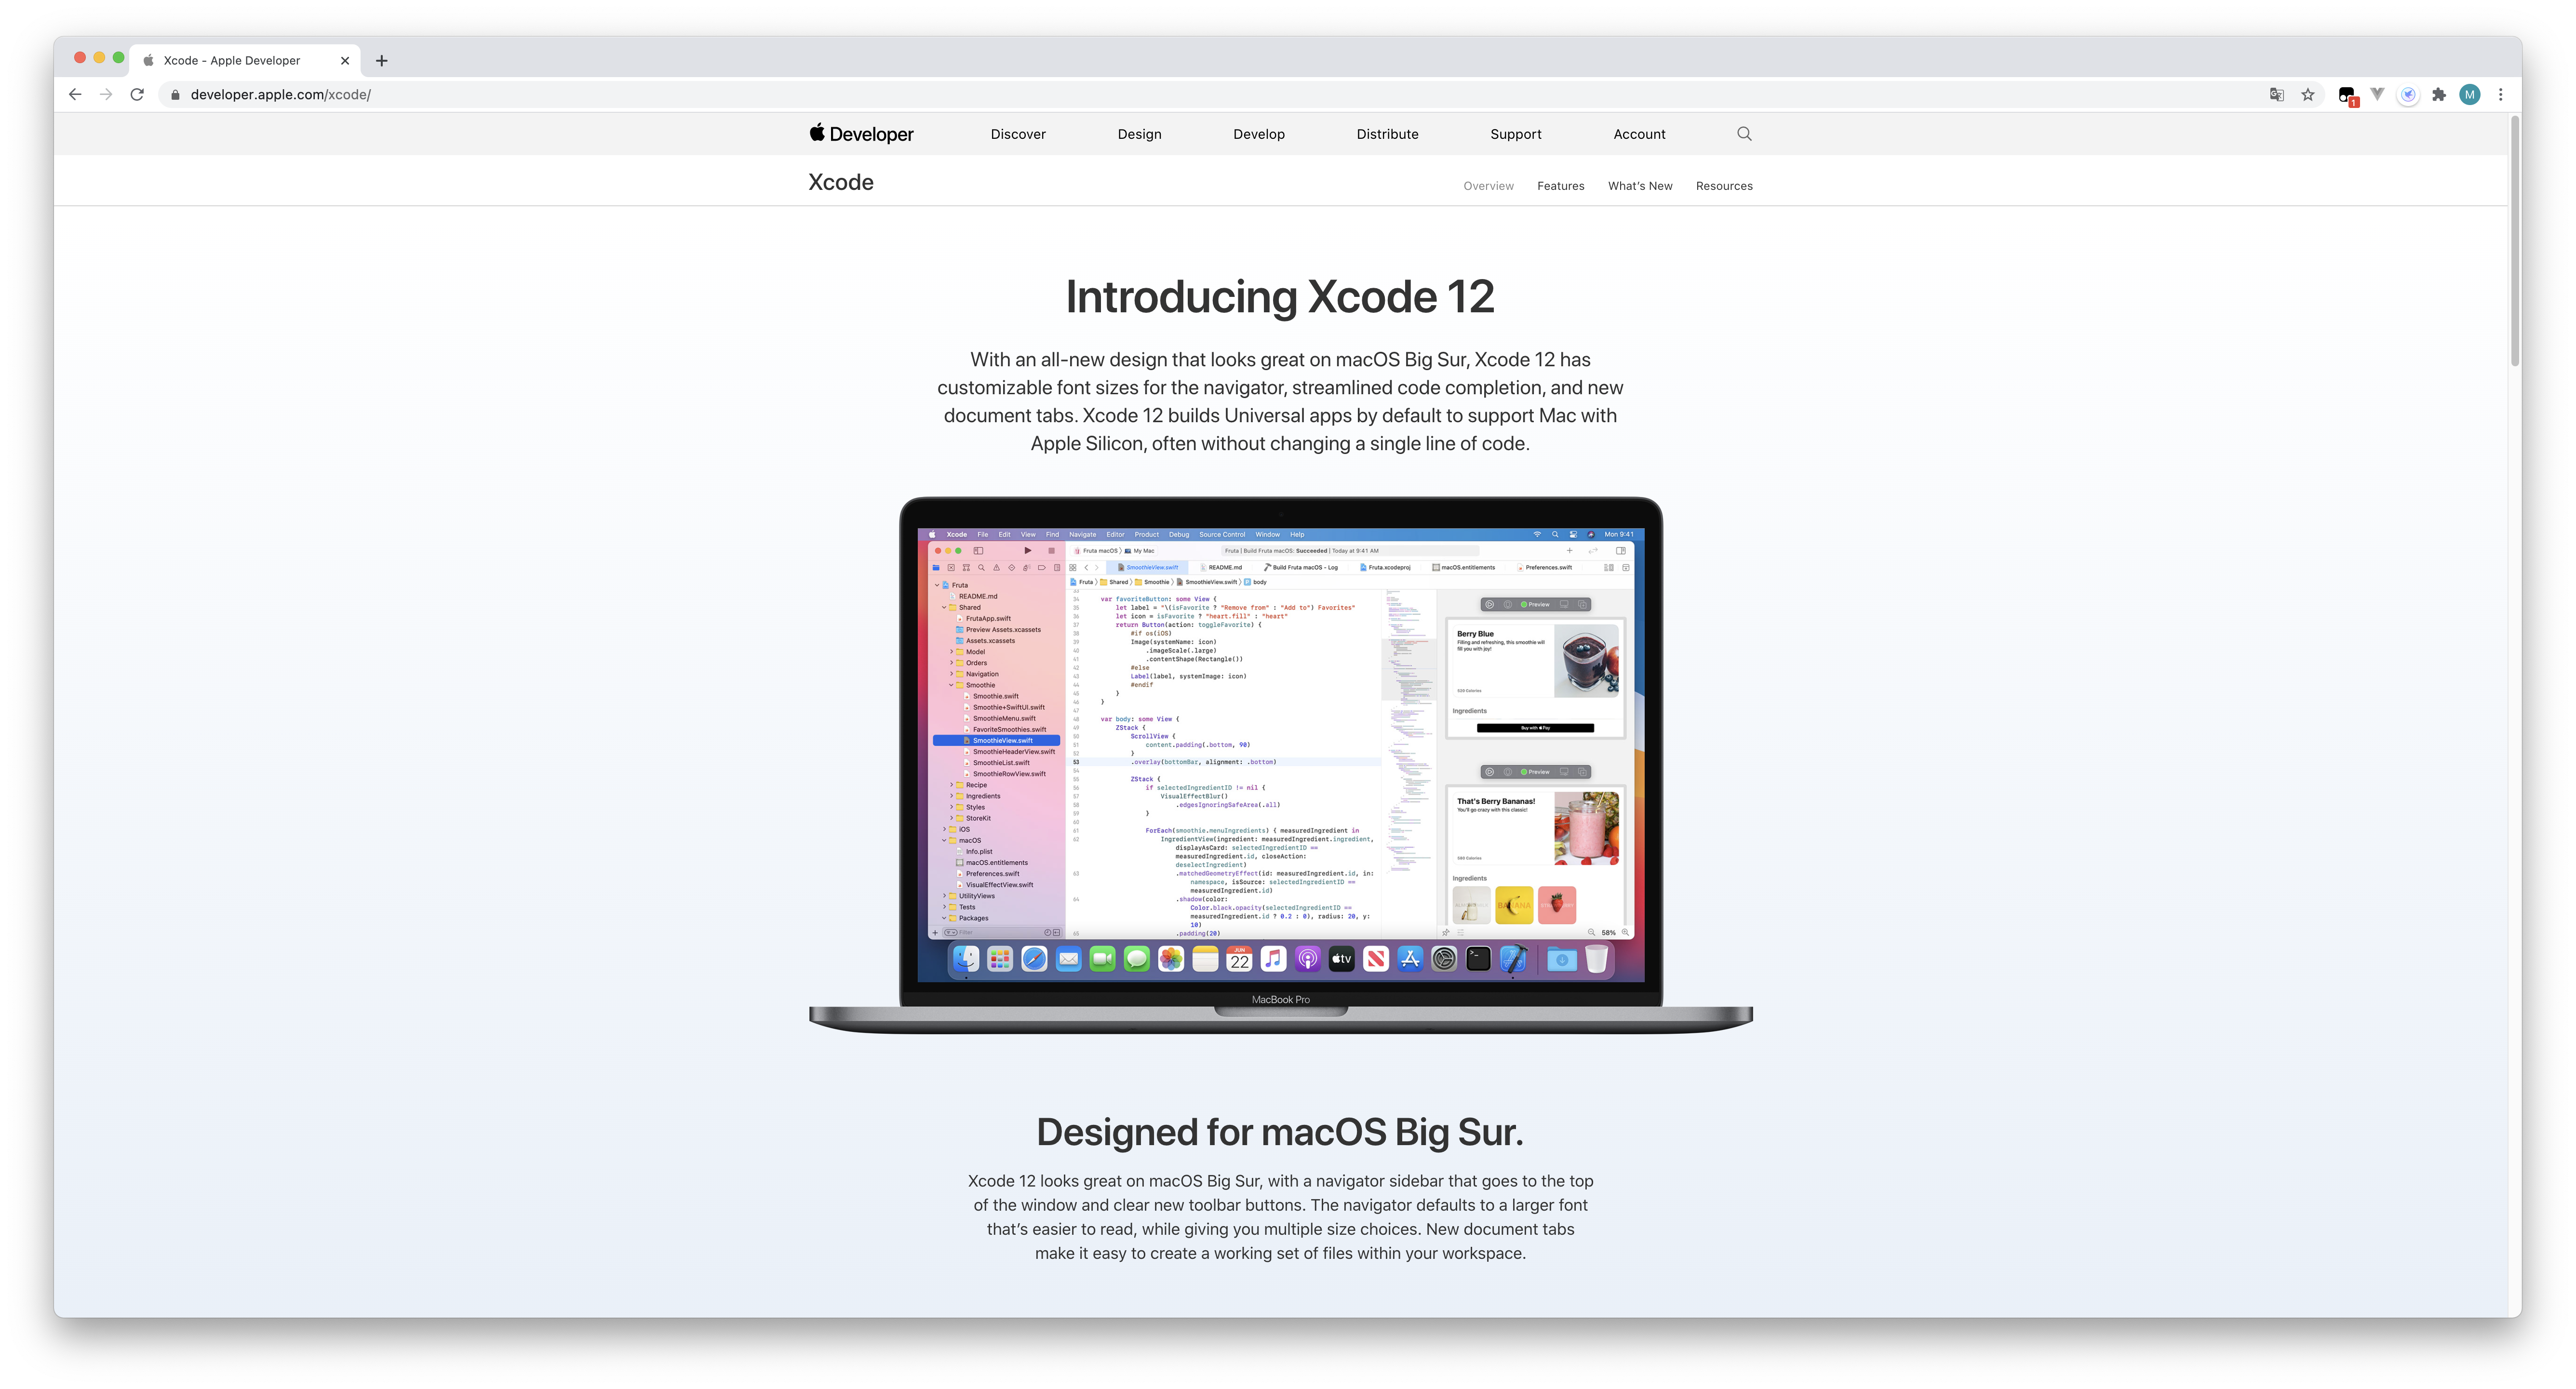
2020 年 06 月 22 日的 WWDC 上 iOS14 的新特性 - 小部件正式在 iOS 上线,同时 WidgetKit 也正式面向广大开发者使用。
此帖开始记录学习 WidgetKit 的经历, 同时开源了 - iWidget 作为 WidgetKit 的简单演示,看完这篇文章认为有用可点个 Star。
项目地址: https://github.com/Littleor/iWidget
初识 iOS 小部件
1. 下载 Xcode12
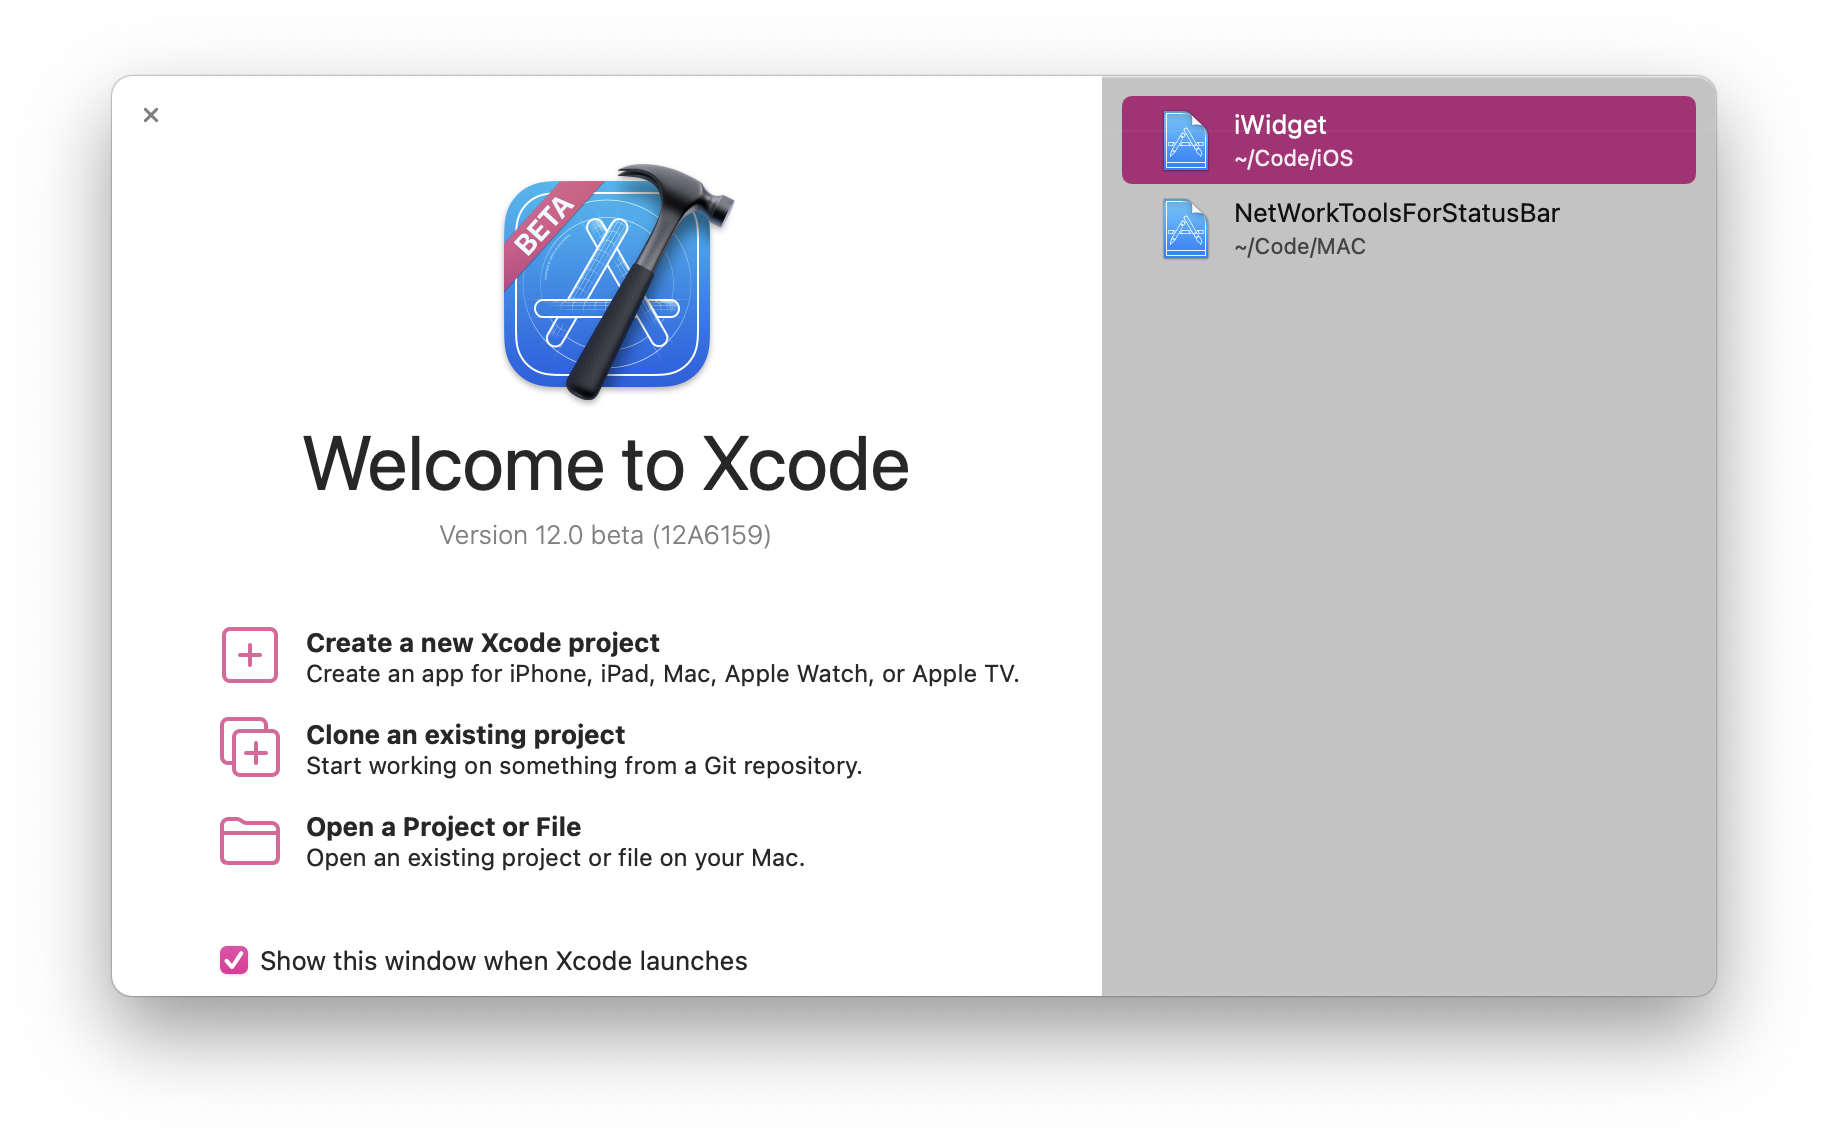
开发 Widget 需要使用到 Xcode12,目前依旧是 beta 版本,需要在官网使用开发者账号下载。
开发者账号的注册是免费的,使用 AppleId 注册后直接下载使用即可。
具体步骤网上有很多,这里不再赘述。
2. 创建一个项目
欲使用 WidgetKit 必先创建一个 iOS 的项目,按常规操作来即可。
点击 Create a new Xcode Project 来创建新项目
选择 iOS->App 再点击 Next
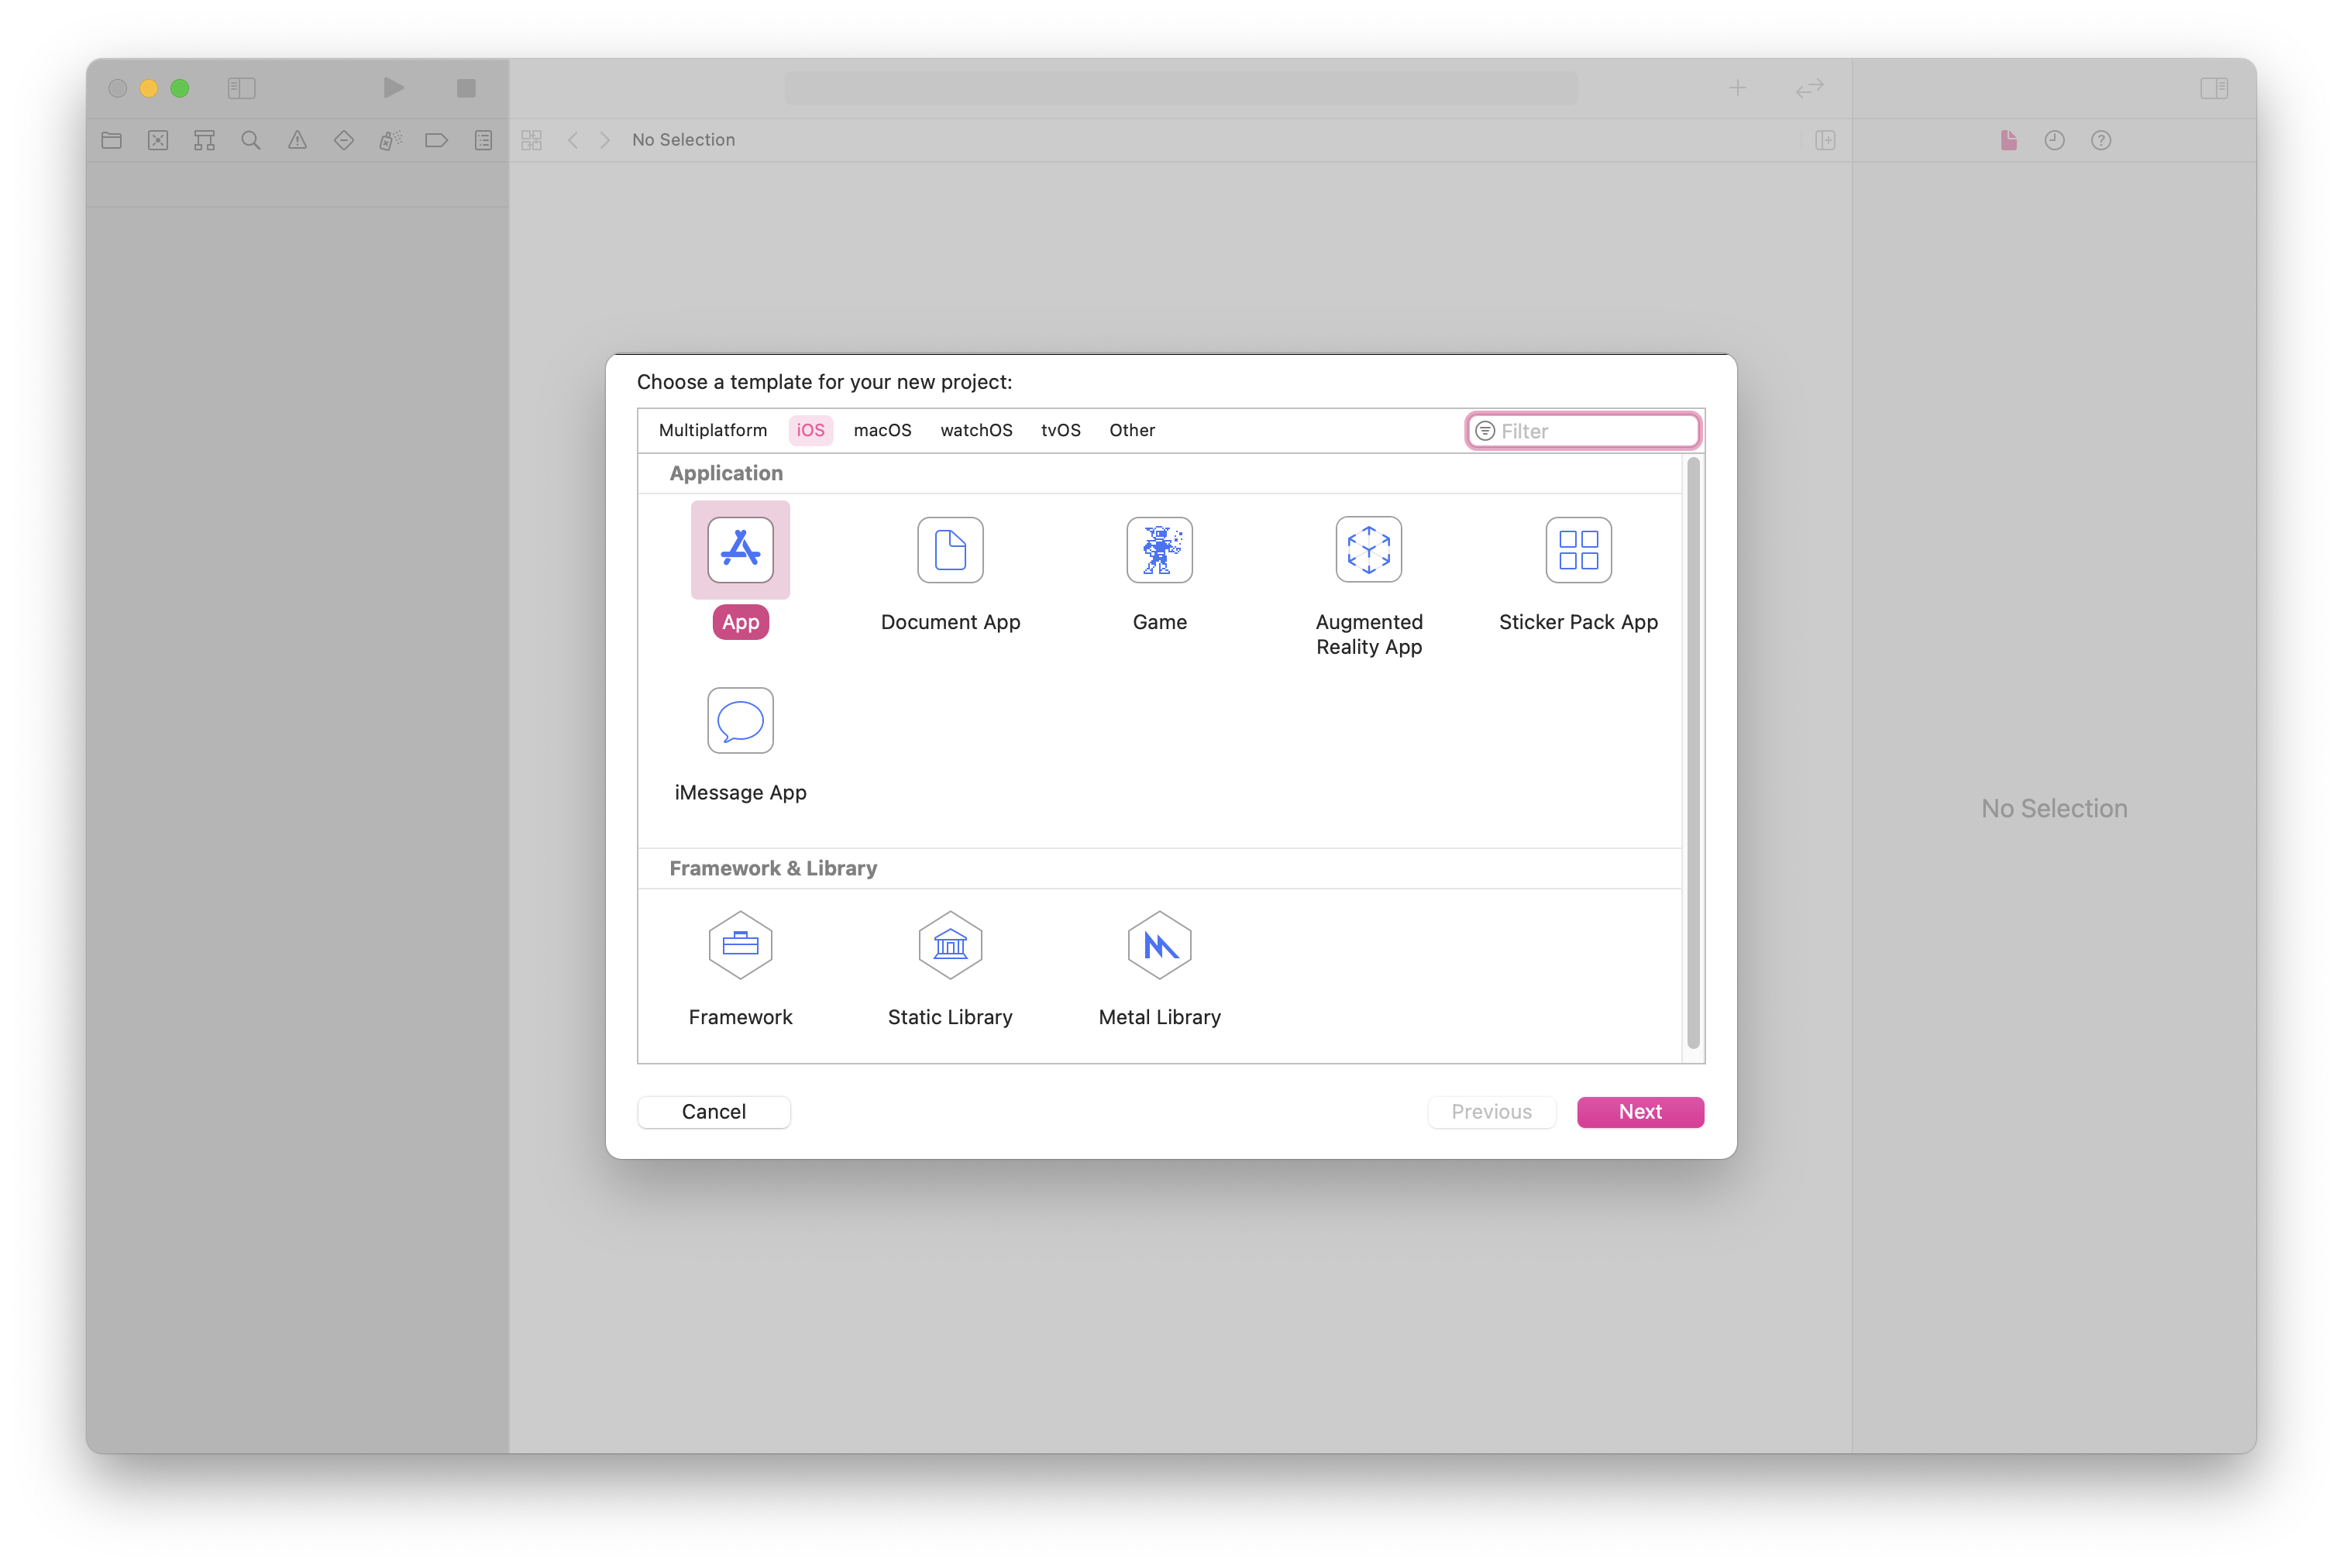
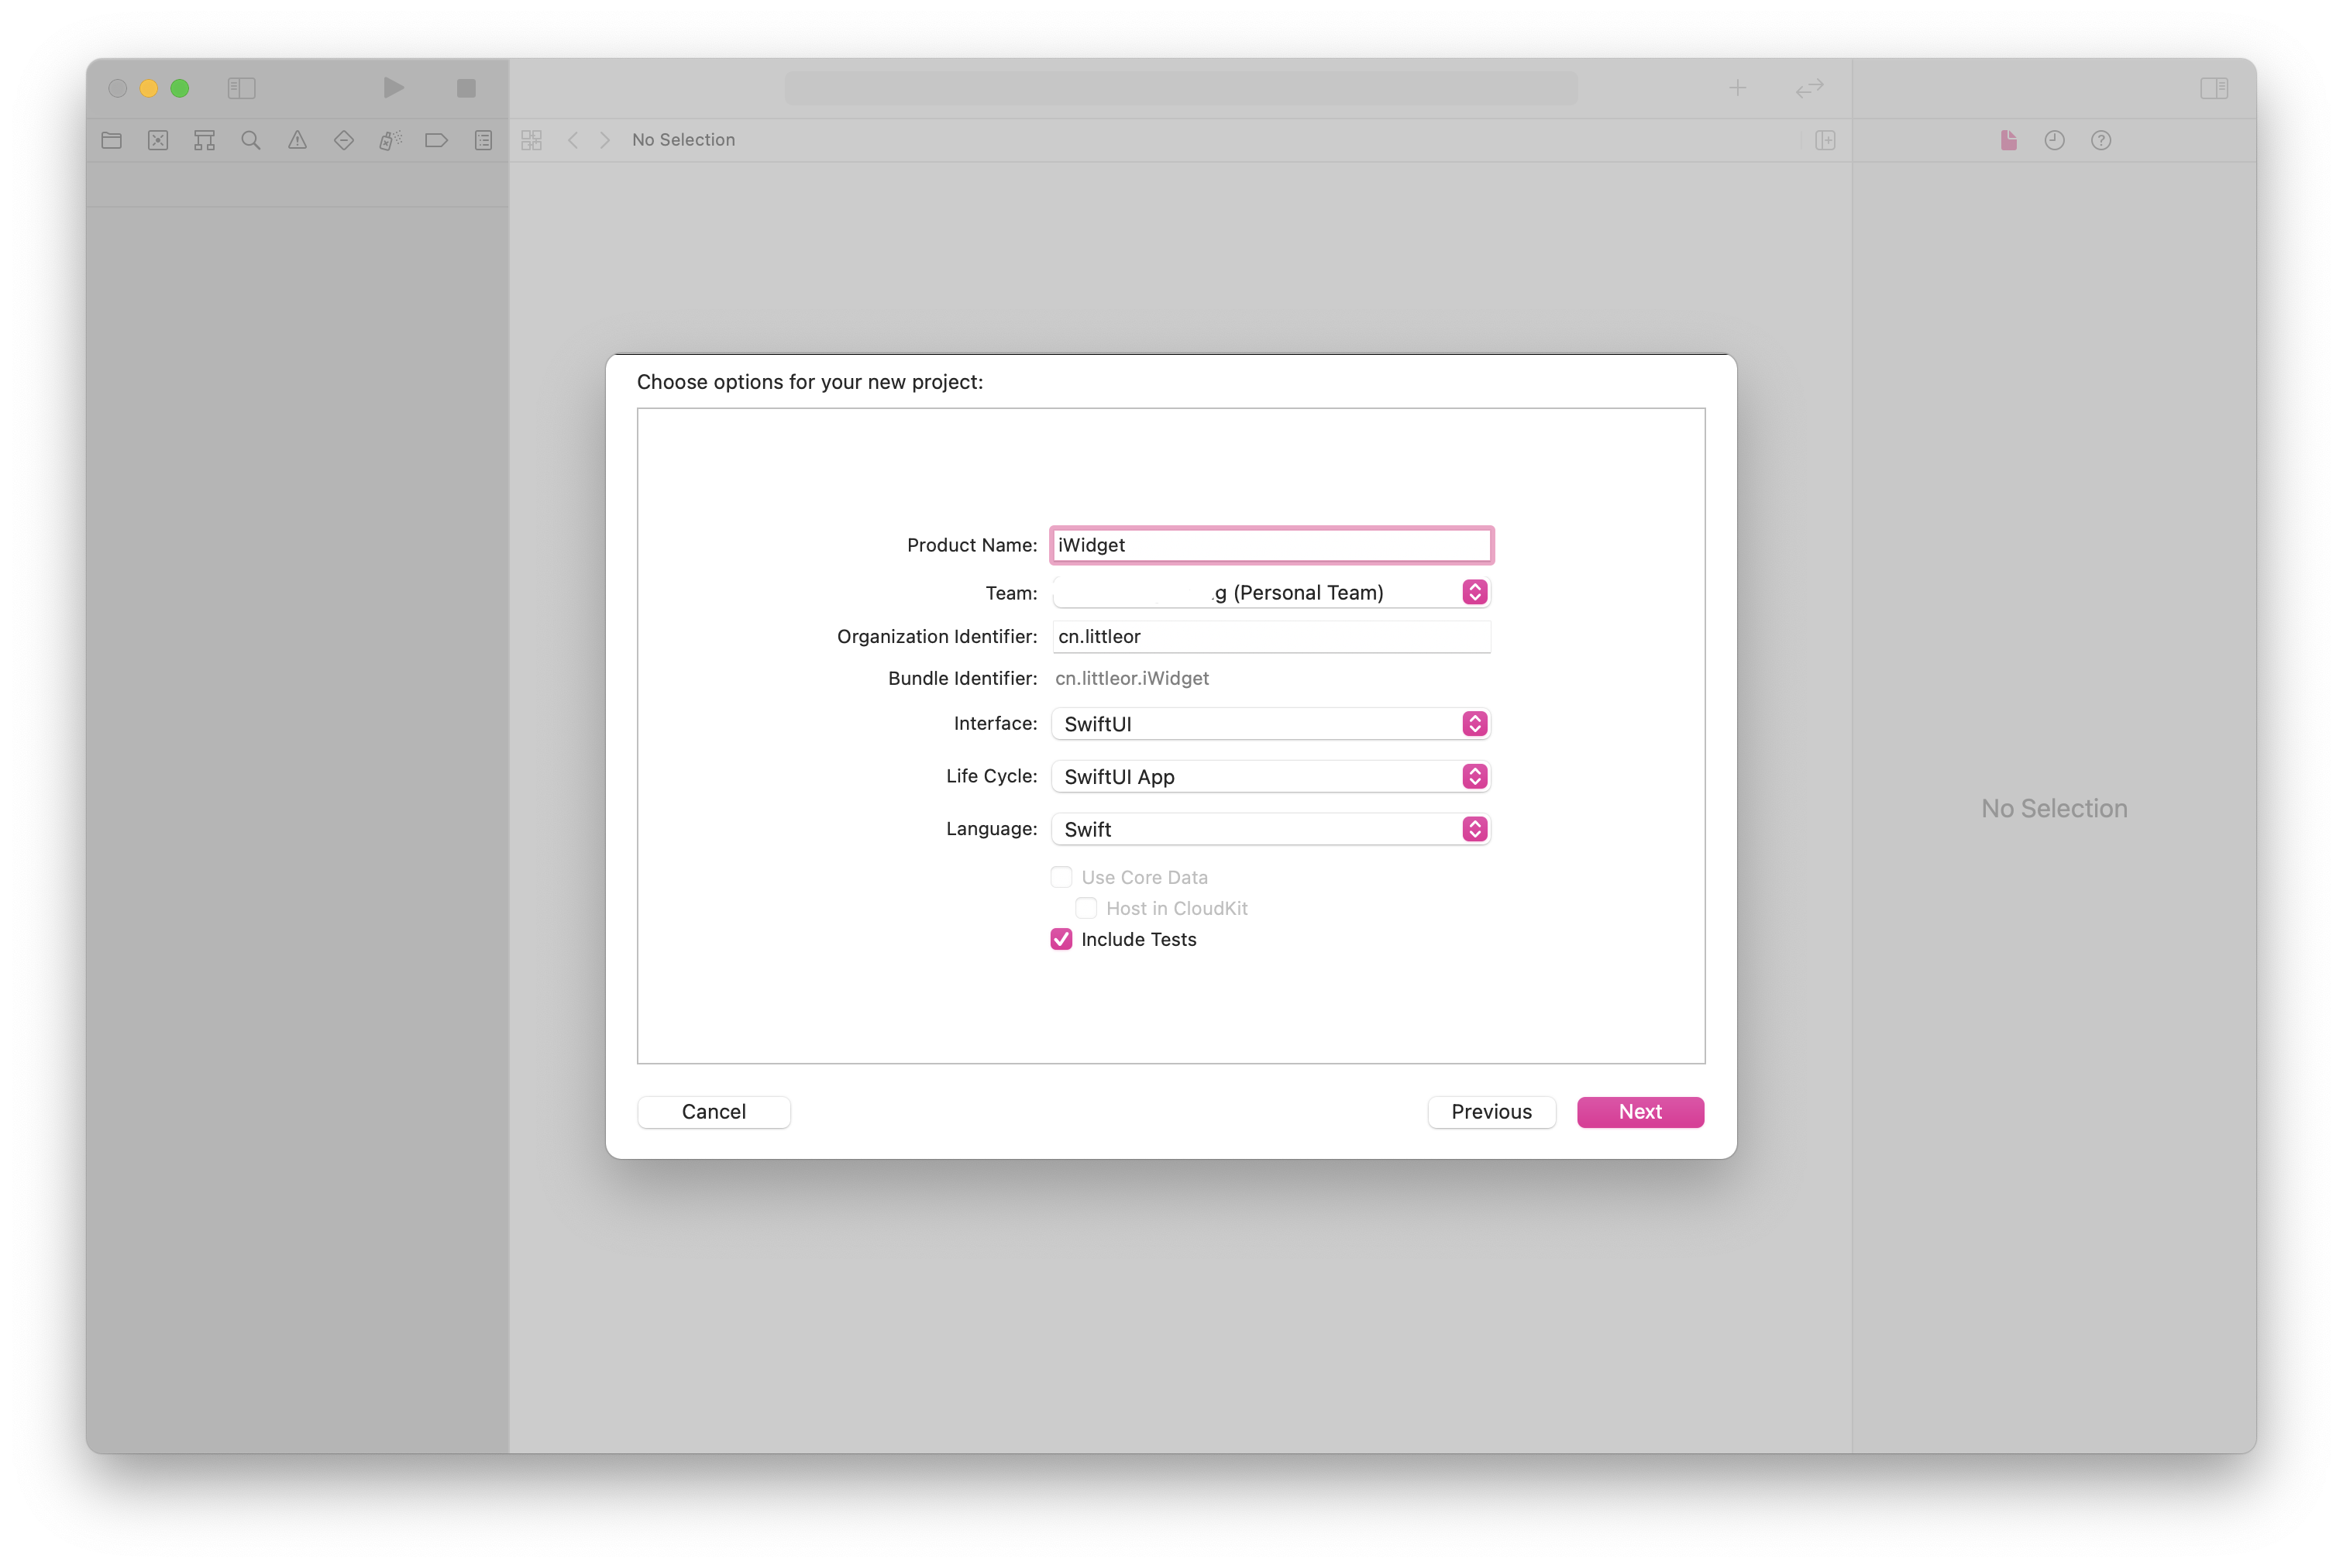
Name 随便填,Organization Identifier 填写翻转域名即可。
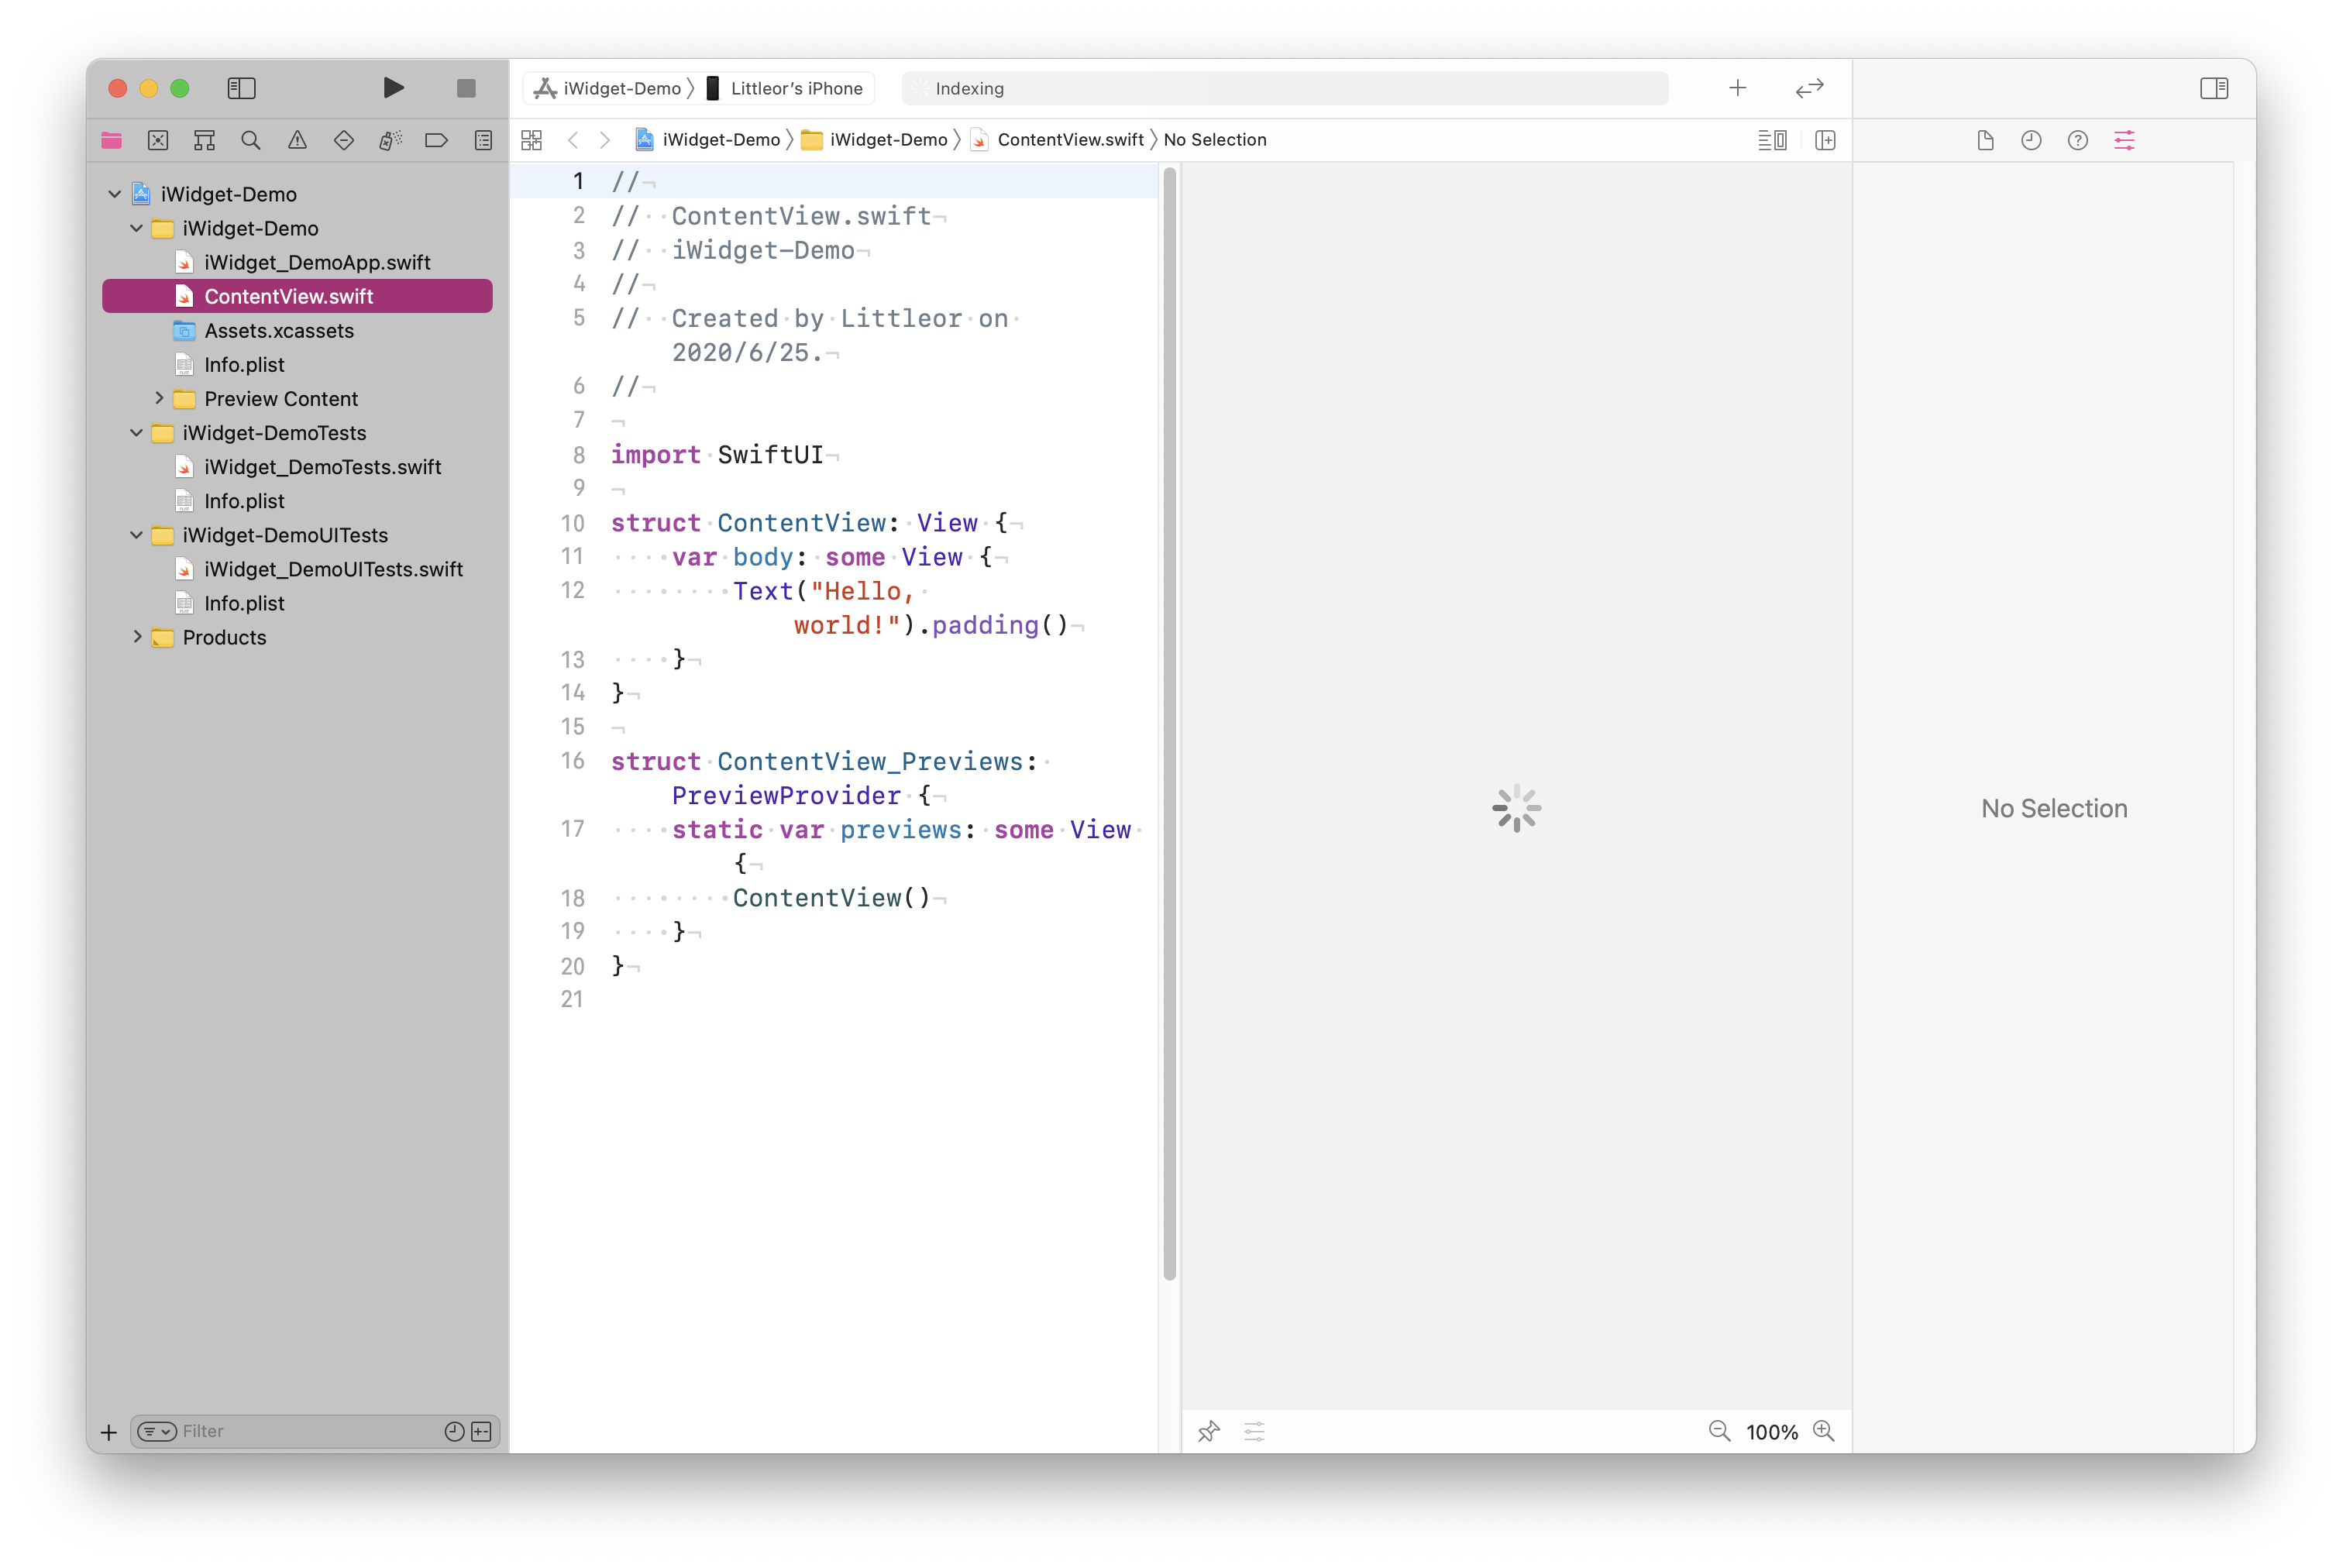
创建完成就出现默认的 Hello World! 啦
3. 开始使用 WidgetKit
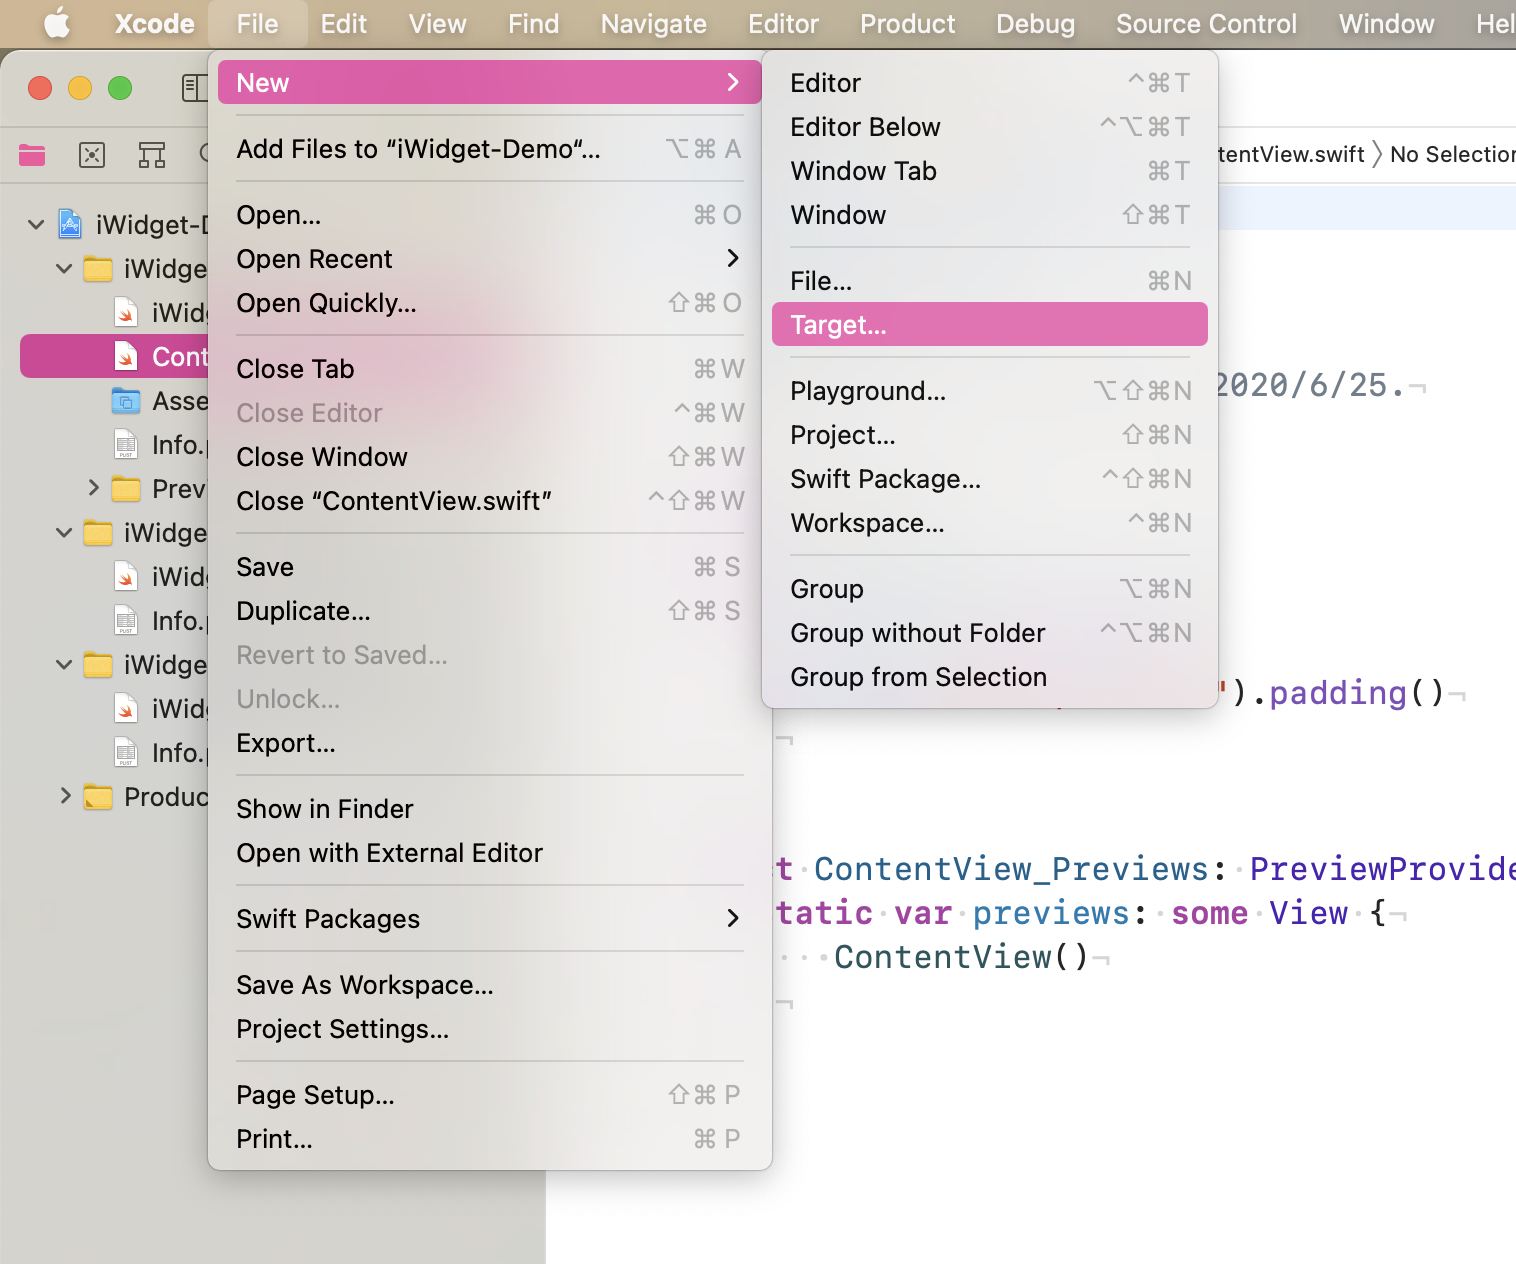
首先点击左上角的 File->New->Target 添加 Target
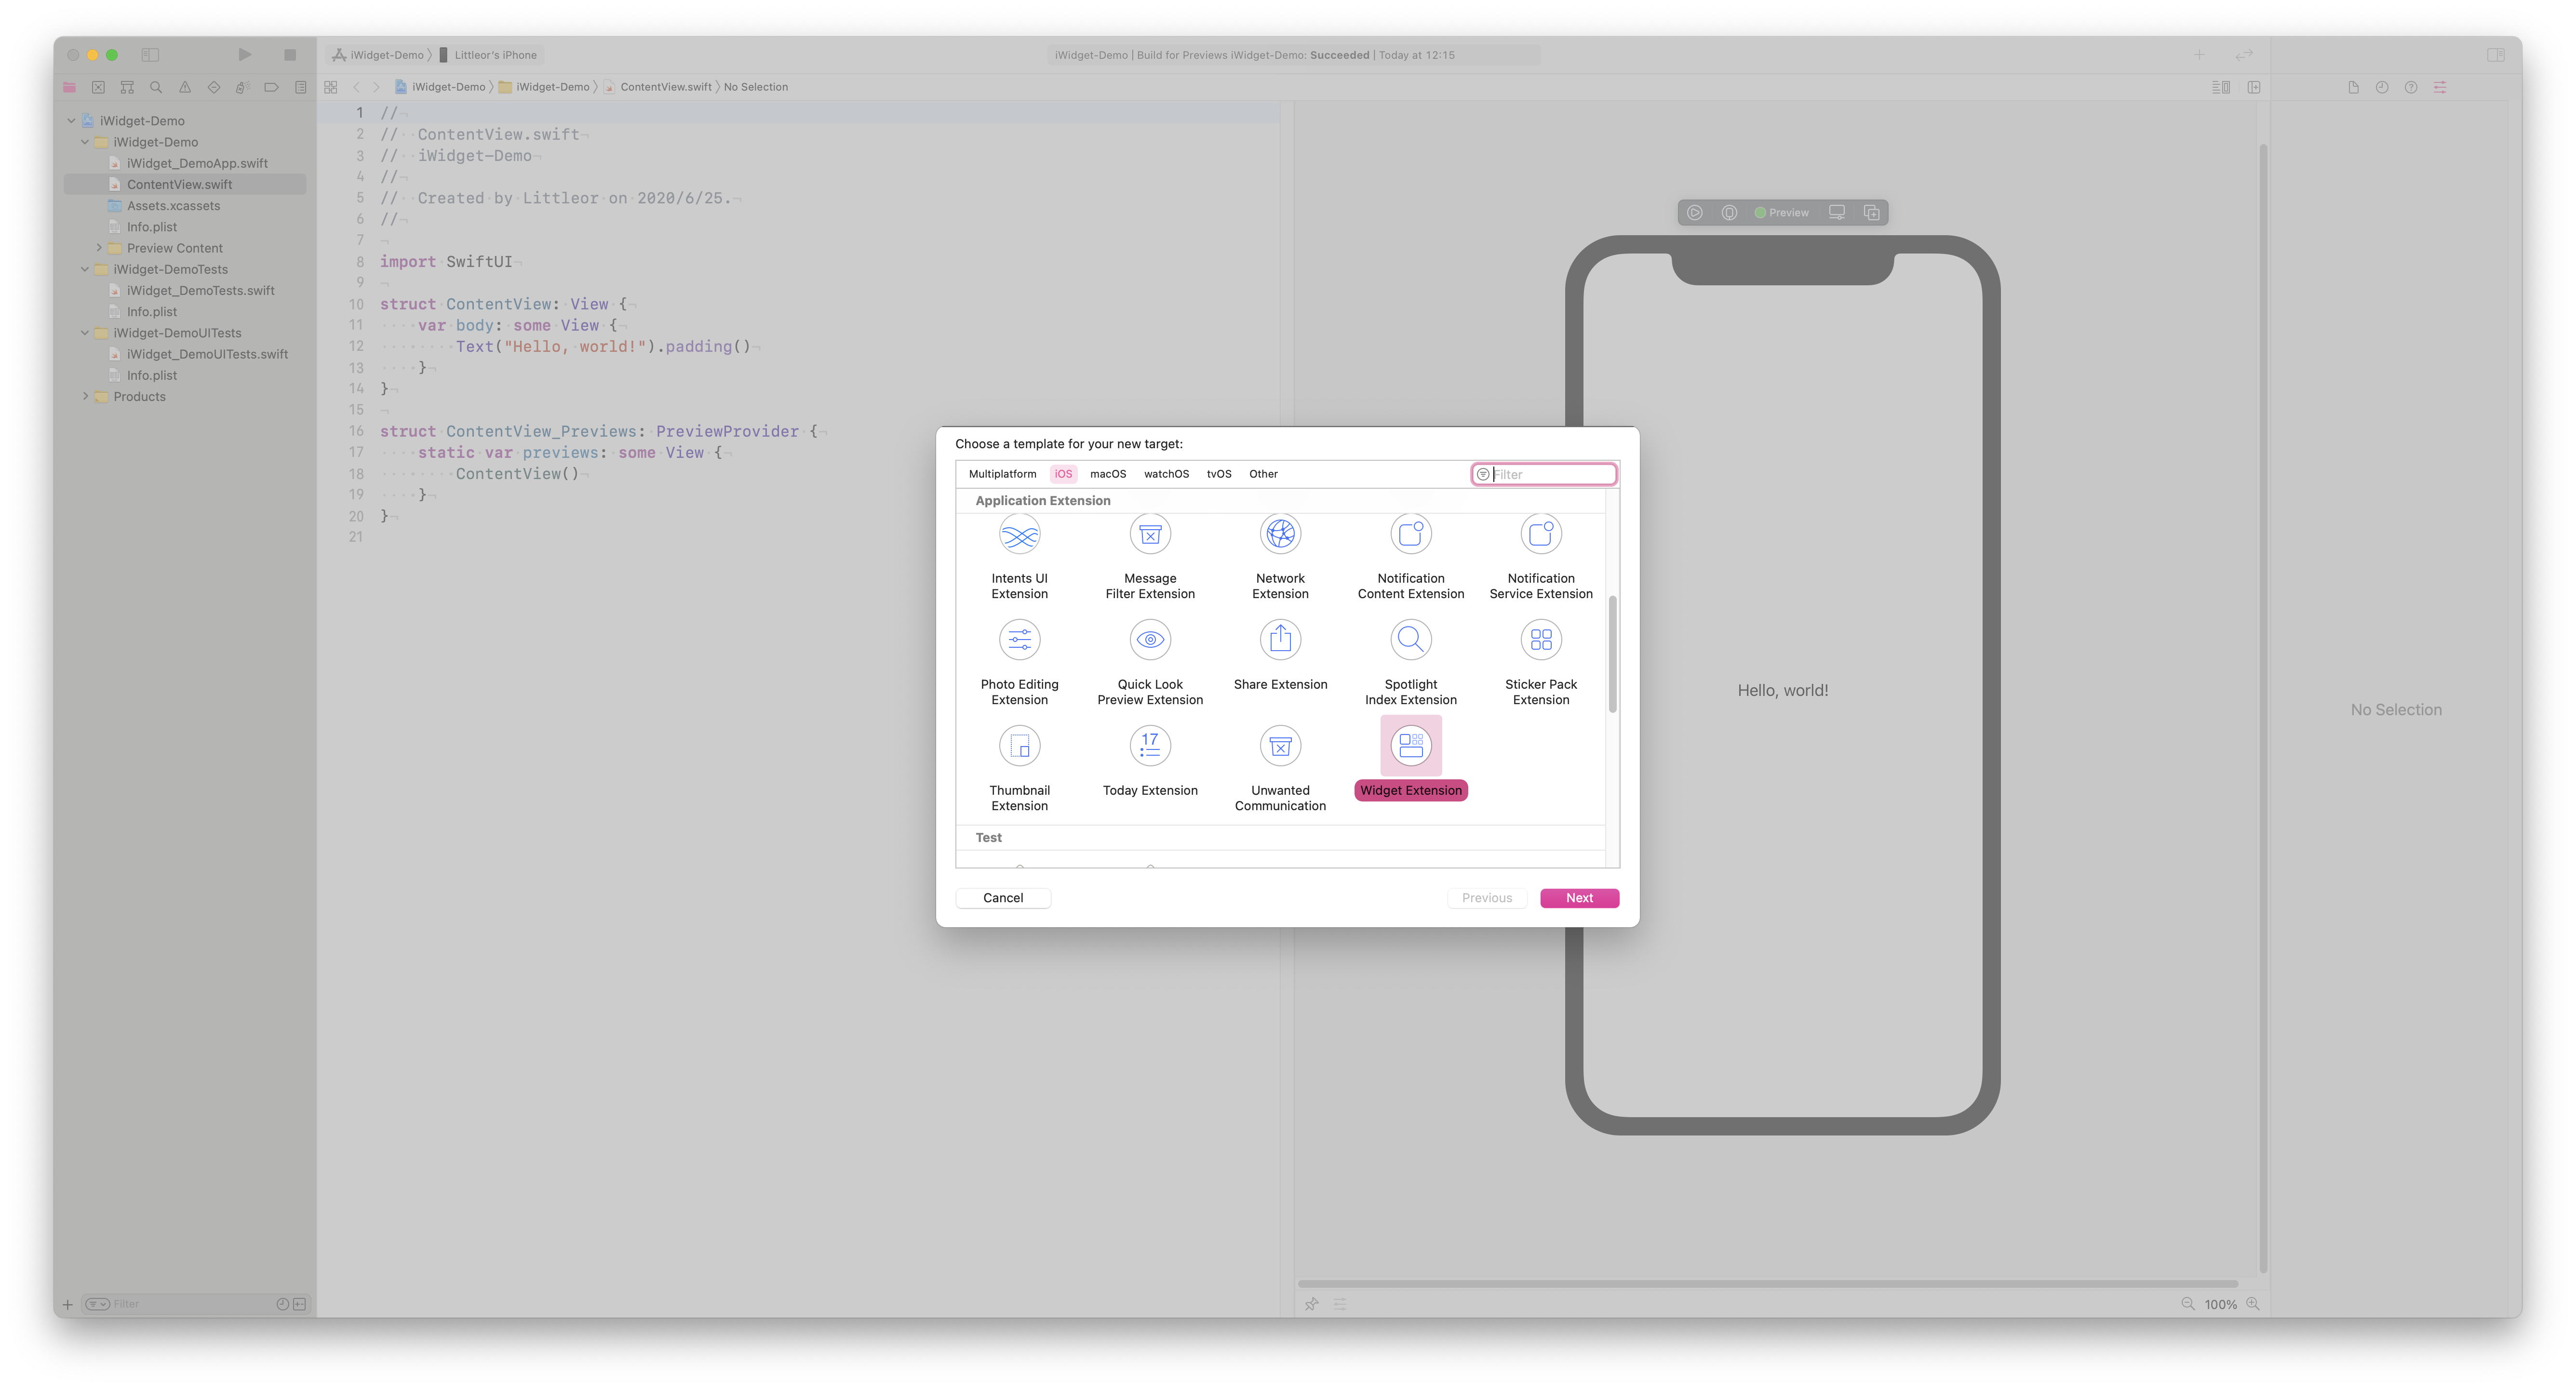
 然后选择 Widget Extension
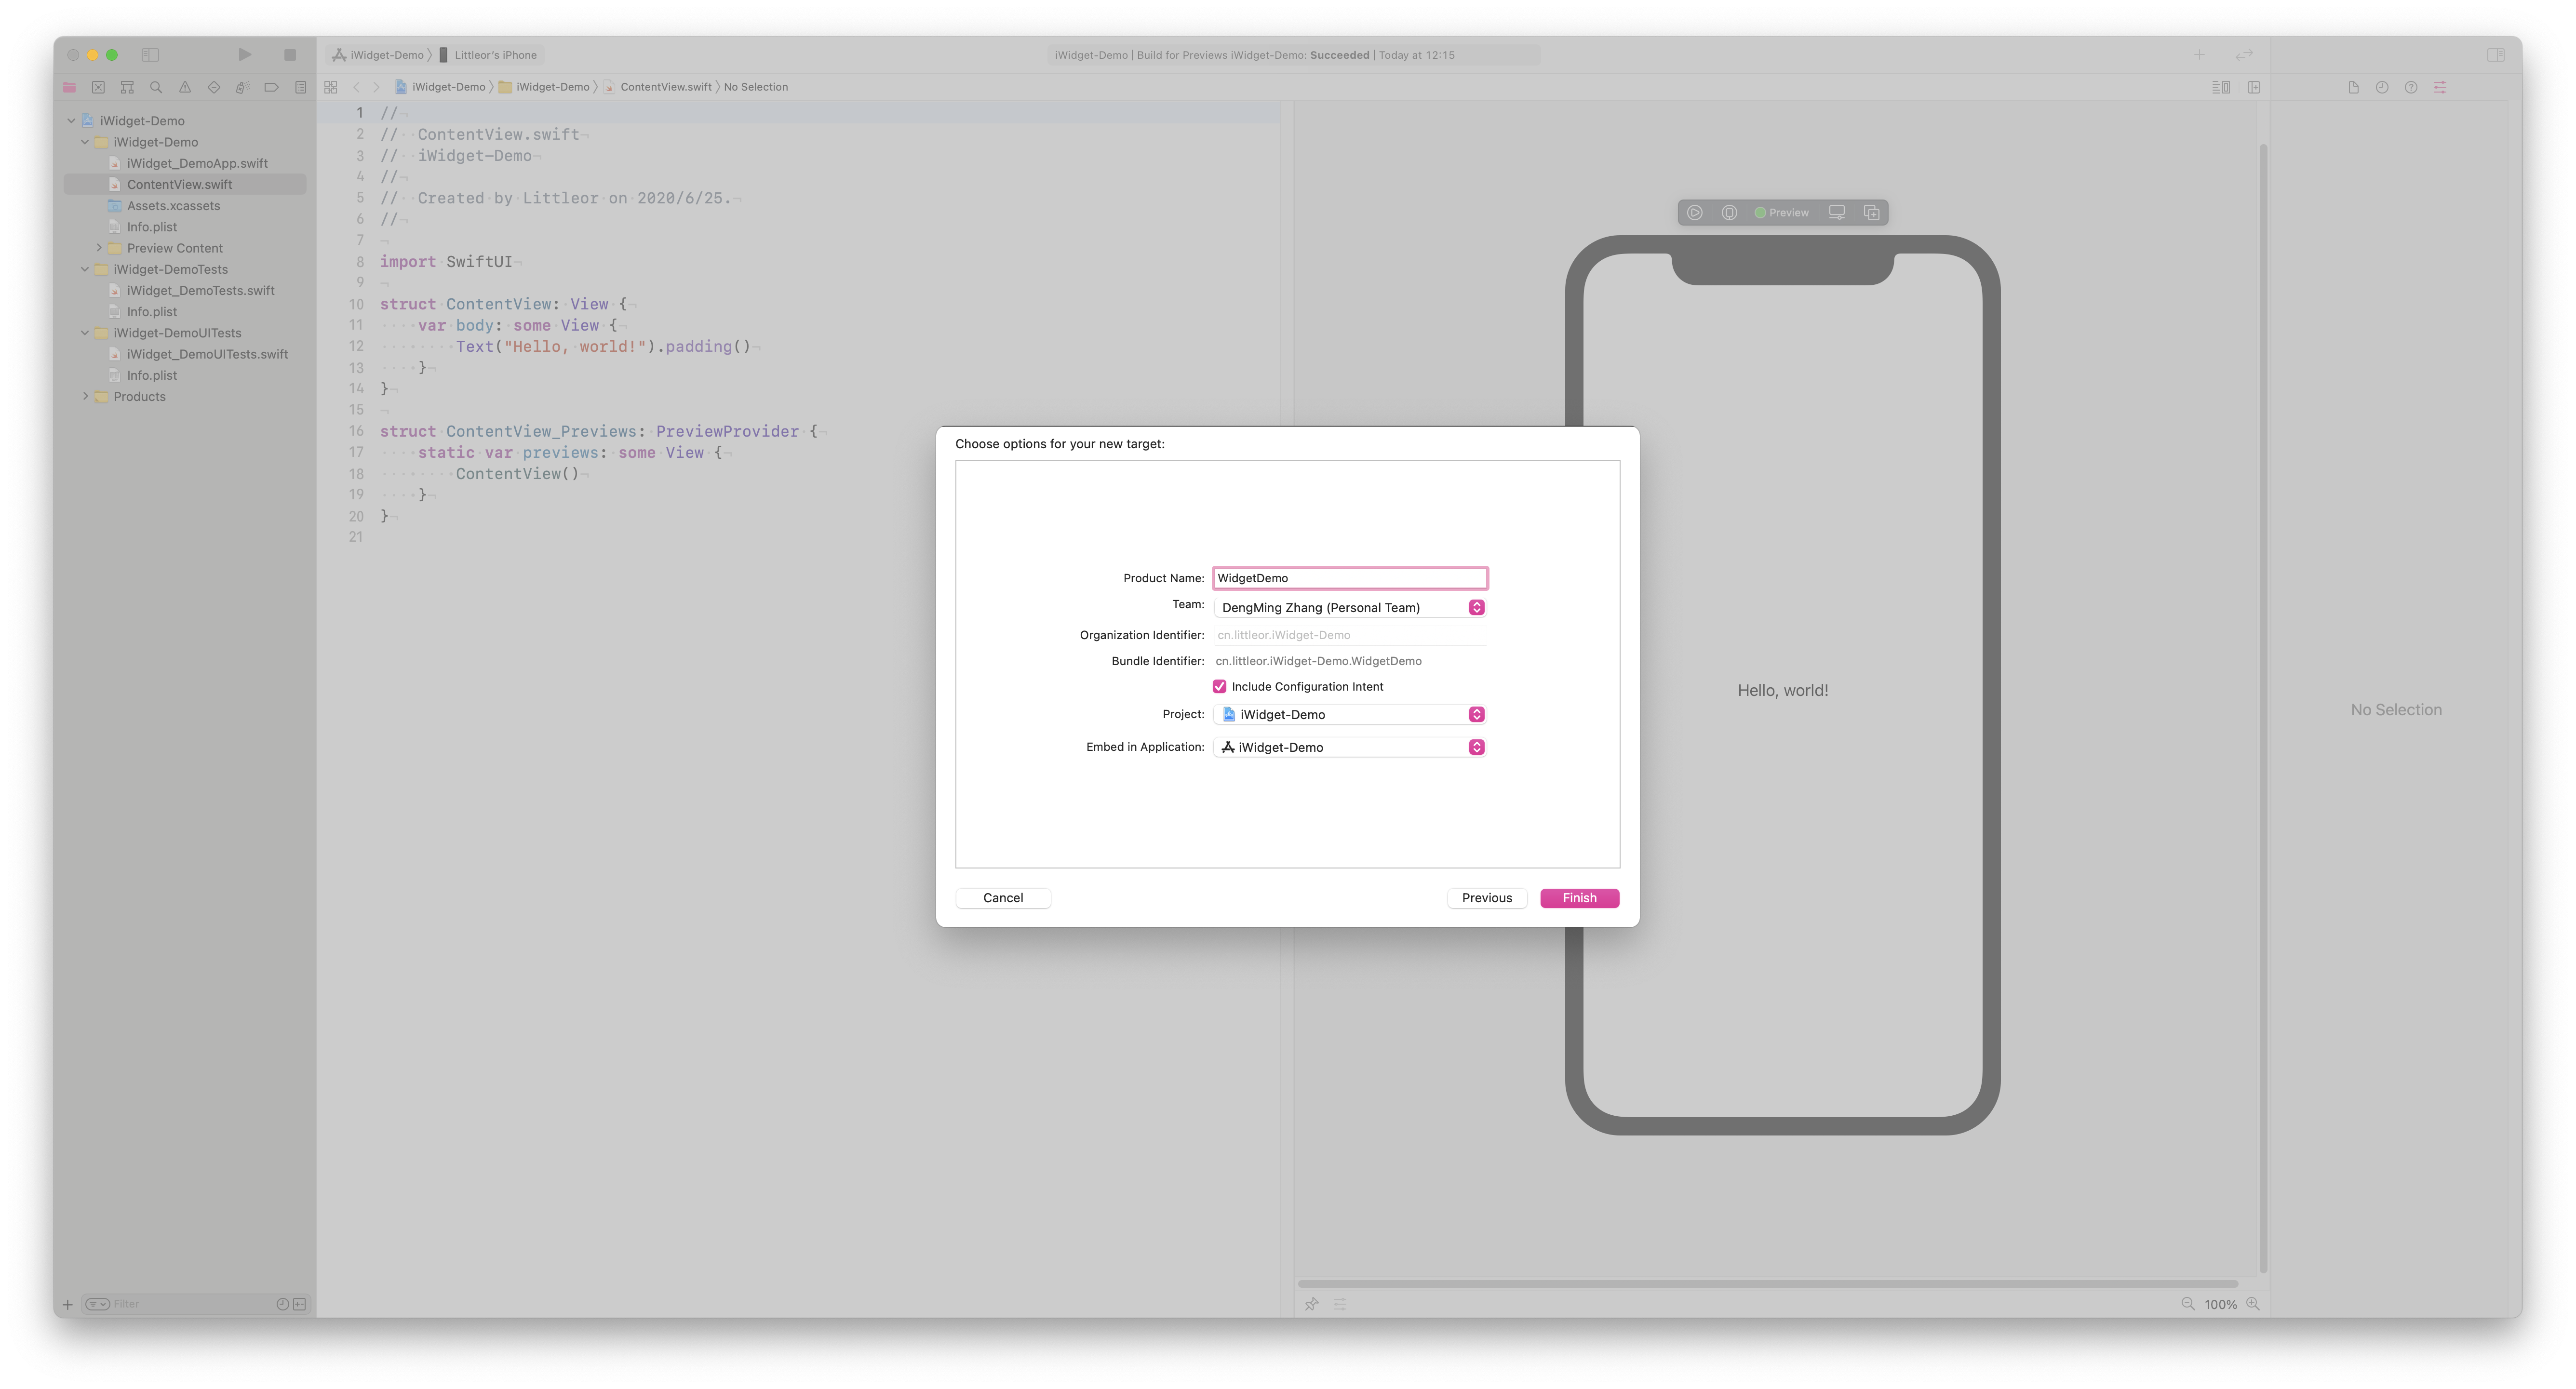
 配置 Wiget 即可,Name 和项目名字不能一样哦
 点击 Finsh 之后 Xcode 就会帮你自动生成一个默认的 Widget 文件了
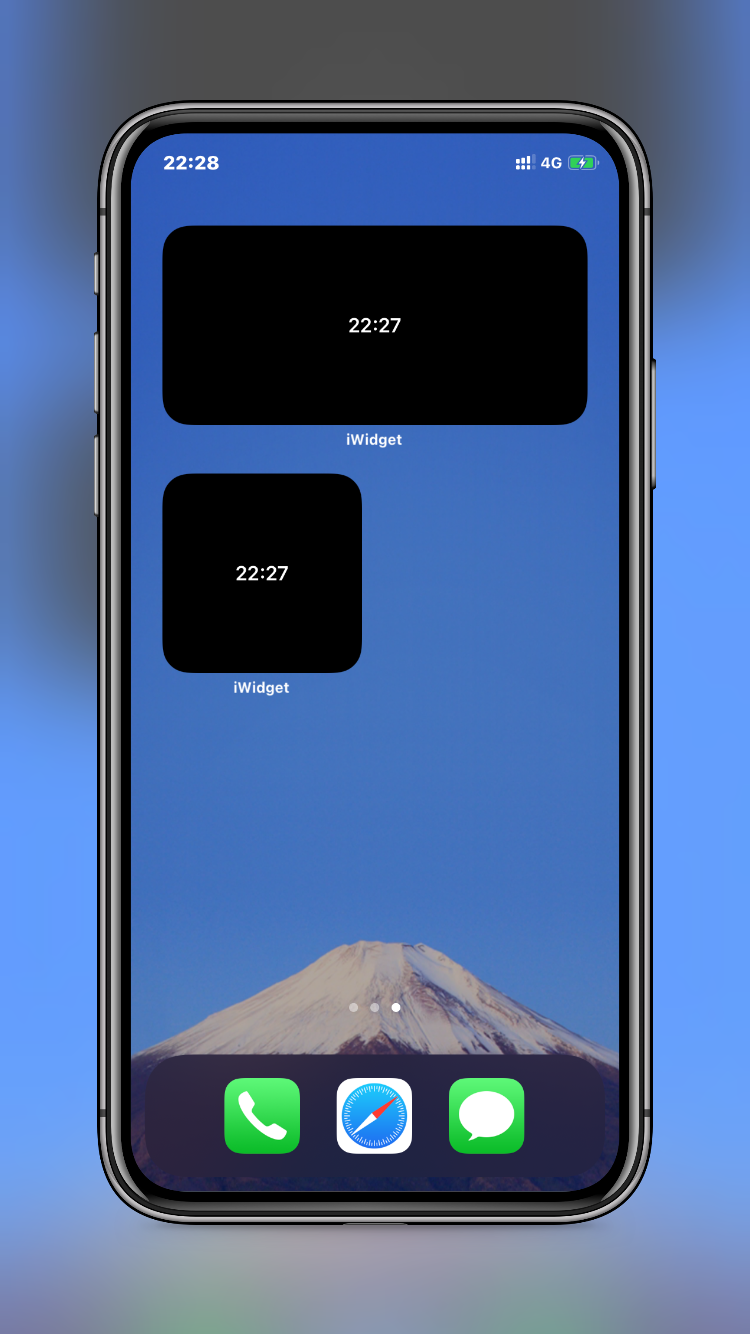
 运行到 iOS14 设备上后就可以看到默认的时钟 Widget 了!
4. 默认 Widget 文件结构分析
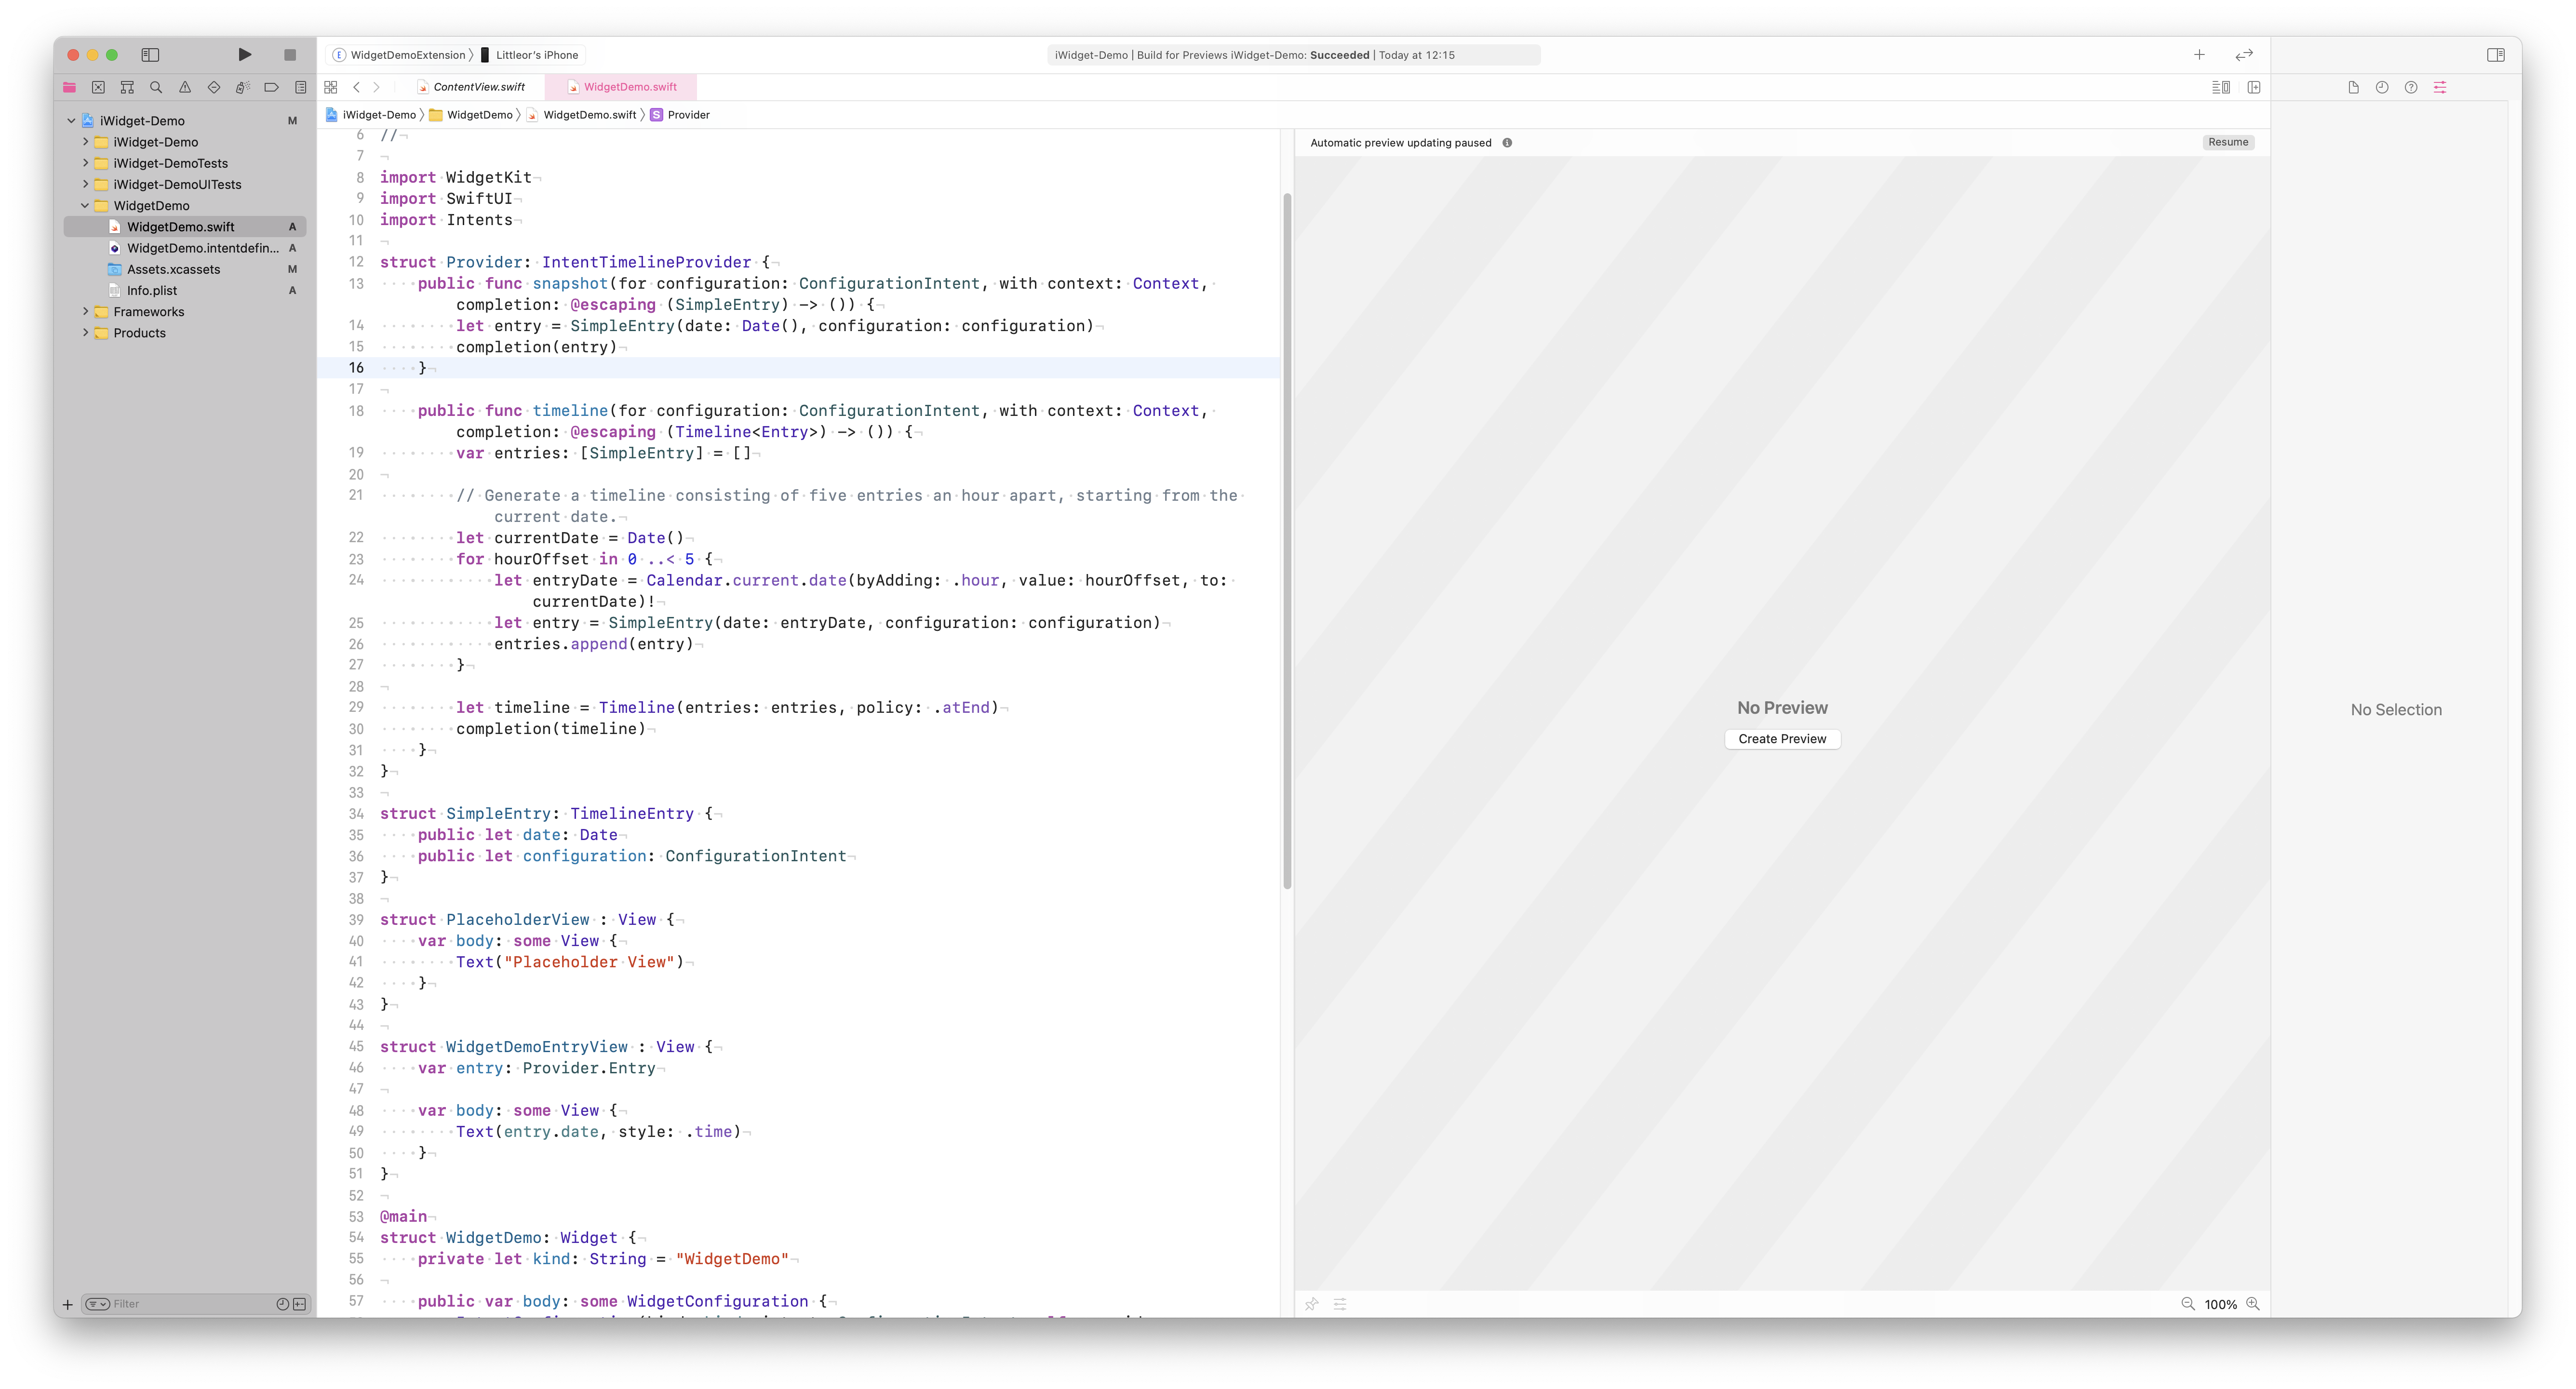
1.Provider
Provider 实现了
IntentTimelineProvider,主要用于提供数据和控制数据的刷新,其中有两个关键函数:public func snapshot(for configuration: ConfigurationIntent, with context: Context, completion: @escaping (SimpleEntry) -> ())
和 public func timeline(for configuration: ConfigurationIntent, with context: Context, completion: @escaping (Timeline<Entry>) -> ())
,其中 snapshot 会在 Widget 被添加的时候执行,timeline 通过 Timeline(entries: entries, policy: .atEnd) 刷新数据和控制下一步刷新时间.
|
|
这里只写如何使用,具体内容下一篇细述。
2.SimpleEntry
SimpleEntry 实现了 TimelineEntry,主要用于保存 Widget 的数据。
|
|
3.PlaceholderView
PlaceholderView 用于显示默认 Widget,当 Widget 还没获取到数据的时候会默认显示这里的布局。
|
|
4.WidgetDemoEntryView
WidgetDemoEntryView 是 Widget 的布局部分,是 Widget 的 View 的部分。
|
|
5.Widget
这里可以说是 Widget 的入口了罢,这里定义了 Widget 的 Kind、Provider、View 等。
|
|
5. 如何创建多个 Widget?
iOS 创建多个小部件不能像 Android 一样直接建立多个 Widget 的配置文件,否则会报错,而是可以直接修改当前 Widget 的入口文件即可,Apple 提供了相关 API:
|
|
改变 @main 为 WidgetBundle , 再创建多个 Widget 的 struct 即可。
后记
后续还会慢慢完善 WidgetKit 开发的文章,同时 iWiget 也会不断完善。
文章作者 Littleor
上次更新 2020-06-25